Mastering Bleed and Crop Marks for Print-Ready Files: A Beginner's Guide
- fineline publishers
- Jun 3
- 3 min read

When preparing files for print, one common mistake beginners make is overlooking bleed and crop marks. These elements are essential for ensuring your printed materials look professional and polished. Without them, your design might end up with unwanted white edges or misaligned cuts. This guide will walk you through the basics of bleed and crop marks, how to set them up correctly, and why they matter for print-ready files.
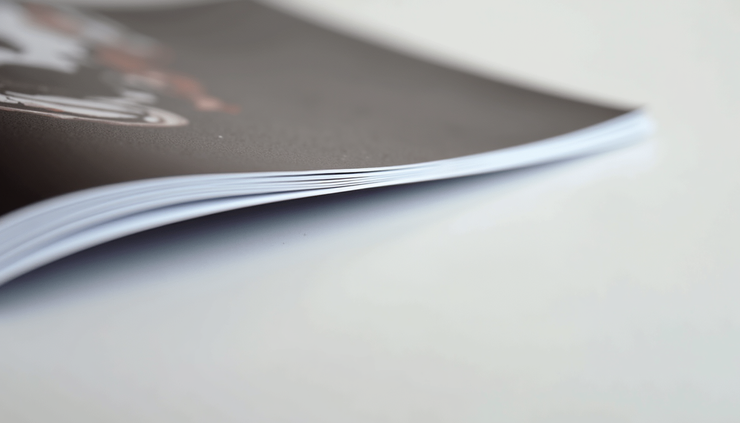
Printed brochure edges clearly showing bleed and crop marks for accurate trimming
What Are Bleed and Crop Marks?
Bleed is the area of your design that extends beyond the final trim size. It ensures that when the paper is cut, the ink or color reaches the edge without leaving any white borders. Printers usually require a bleed of 1/8 inch (3mm) around all sides of your document.
Crop marks are small lines placed at the corners of your design to indicate where the paper should be trimmed. They guide the printer to cut the document accurately to the intended size.
Together, bleed and crop marks help avoid mistakes during the printing and trimming process, ensuring your final product looks exactly as designed.
Why Bleed and Crop Marks Matter
Imagine designing a flyer with a vibrant background color that reaches the edges. If you don’t include bleed, the printer might cut slightly inside the edge, leaving a thin white line around your flyer. This happens because cutting machines are not perfectly precise.
Crop marks solve this by showing exactly where to cut, while bleed provides extra image or color beyond the trim line to cover any cutting inaccuracies. Without these, your print job risks looking unprofessional and unfinished.
How to Set Up Bleed in Your Design Software
Most professional design software like Adobe InDesign, Illustrator, or Affinity Designer allows you to set bleed when creating a new document. Here’s how to do it:
Set the document size to your final trim size (e.g., 8.5 x 11 inches for a standard flyer).
Add bleed margins of 0.125 inches (3mm) on all sides.
Extend background colors, images, or design elements beyond the trim line into the bleed area.
Keep important text and logos inside the safe zone, at least 0.25 inches (6mm) away from the trim line, to avoid accidental cutting.
For example, if your flyer is 8.5 x 11 inches, your document size stays the same, but the bleed area extends the canvas to 8.75 x 11.25 inches.
Adding Crop Marks to Your File
Crop marks can be added automatically or manually depending on your software:
In Adobe InDesign, when exporting a PDF for print, check the option to include crop marks and use the bleed settings you defined.
In Adobe Illustrator, you can add crop marks by selecting the artwork and choosing Object > Crop Marks.
In Affinity Designer, crop marks can be added during export under the “More” options by enabling “Include crop marks.”
Make sure crop marks are outside the bleed area so they don’t interfere with your design.
Common Mistakes to Avoid
Not including bleed at all: This leads to white edges after trimming.
Placing important content too close to the trim line: Text or logos might get cut off.
Using inconsistent bleed sizes: Printers usually expect 3mm; using different sizes can cause confusion.
Forgetting to add crop marks: Printers may have difficulty trimming accurately.
Saving files without bleed and crop marks: Always double-check your export settings before sending files to print.
Practical Example: Setting Up a Business Card
A standard business card measures 3.5 x 2 inches. To prepare it for print:
Set your document size to 3.5 x 2 inches.
Add a 0.125 inch (3mm) bleed on all sides, making the canvas 3.75 x 2.25 inches.
Extend background colors and images into the bleed area.
Keep text and logos at least 0.25 inches (6mm) inside the trim line.
Add crop marks outside the bleed area.
Export as a print-ready PDF with bleed and crop marks enabled.
This setup ensures your business card will have full-bleed color and clean edges after trimming.
Tips for Working with Printers
Always check your printer’s specifications for bleed and crop mark requirements.
Ask if they prefer crop marks inside or outside the bleed area.
Confirm the file format they accept (usually PDF/X-1a or PDF/X-4).
Provide a proof or sample print to verify colors and trimming before the full print run.


Comments